Bea and Chris move to an 1880s farmhouse and occasionally write about it!
Wednesday, March 12, 2014
Windows, Doors, and Sides -- oh my!
We ran out of time when it started raining the afternoon before a huge snowstorm, so we duct-taped trash bags around the door frames just to seal it tight!
Our self-imposed deadline for rebuilding our hoophouse was February 28th, and we just sort of made it by the skin of our teeth! By that we mean the thing is now functional, although currently still has one wall closed in with duct tape and trash bags. Still, it has gotten over 110°F in there while only 36°F outdoors, so the trash bags apparently are much better at holding heat than we expected!
Snowy outdoors -- still above freezing indoors!
Outdoors: 20.7°F In Hoophouse: 34.3°F -- pretty good for not being quite done yet!
In hoophouse construction, general practice seems to be that you band together as many people as you can for a modern barn-raising style event where you can have all-hands-on-deck working as needed. But since the two of us are working by ourselves here, we have to figure out creative ways to get inanimate objects to serve as our co-workers. To get the plastic over top of the 10' tall hoops, we tied 2 sticks to 2 ropes, connected those to the corners of the plastic which we'd folded accordion-style, and then threw those over top of the structure. Chris pulled the ropes while Bea poked at the corners with a 2x4 whenever they got stuck on the monofilament. We had this system working surprisingly well by the time we got to the final piece of plastic!
Installing our plastic in 2010: all hands on deck!
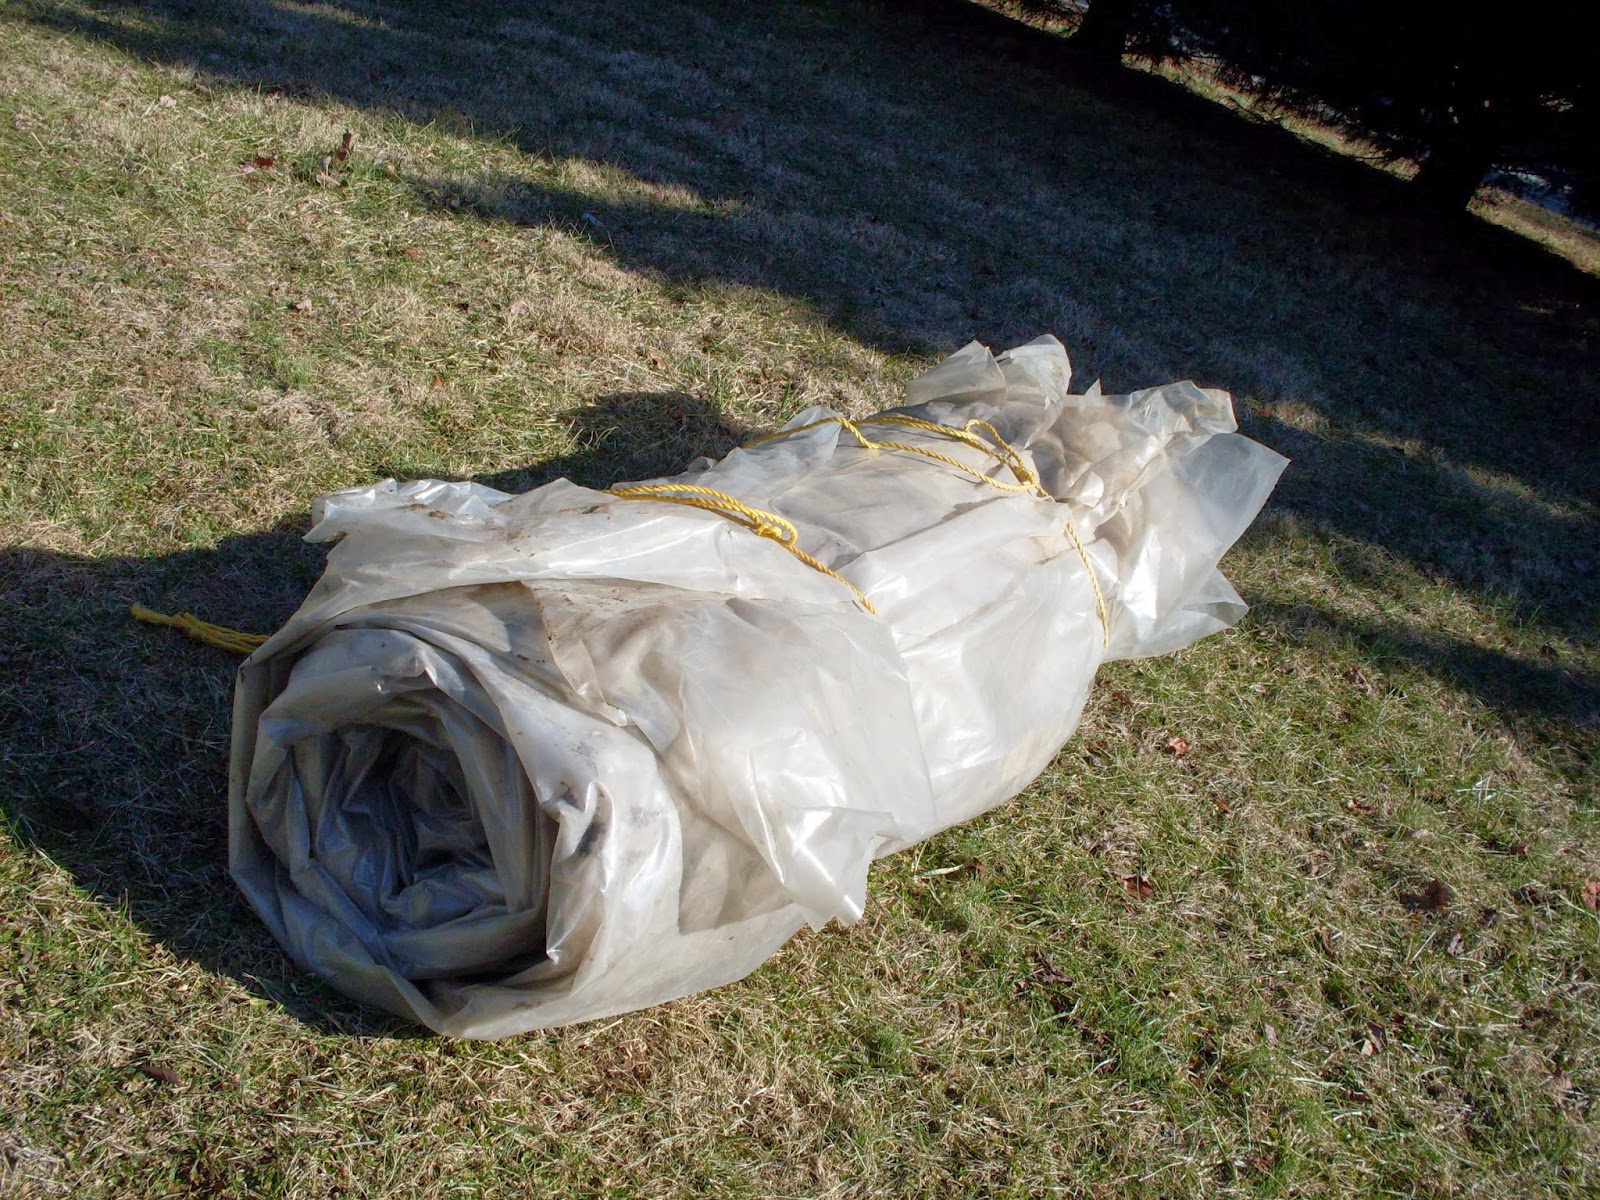
Plastic rolled up small for storage/transport
Our method of plastic installation in 2014
Duct tape over the metal joints keeps plastic from tearing
Framing up the storm doors on the end-walls was fairly simple -- we got 4 used storm doors (2 pairs of matching heights) and built frames around them in place. We added a little room for expansion in the summer heat, and then added 1x2 door jambs (and will probably add old bike tube gaskets as weatherstripping) to keep it tight in the winter. Since the east side is lower than our west side, we'll be filling in the gap at the bottom of the frame with wood chips or mulch for a seamless entrance.
Mulch filling in the gap caused by the slight hill
For our window vents, we were able to find one cheap used window of an appropriate size, but had to build the 2nd one from a piece of 1/8" thick plexiglass and a couple 1x2s. To build the 2nd “window", we used a table saw to cut a sawblade width (1/8") groove along the narrow side of the 1x2, maybe about 1/2" deep. We ripped two 8' sections like this to build a rectangular frame. After quite a bit of debate about how to lap the corners, eventually we cut them at 45 degree angles and just stapled them together to create a FrankenWindow! This could definitely be a lot more attractive but we are starting to lose our perfectionism the closer our building process drags on toward spring!
Bea with our completed window
Then we built window frames above our door frames, and attached our windows along the top edge with really long piano hinges so that they'll open easily for ventilation. We purchased a couple of Univent automatic window openers (a really cool invention!) which is basically a temperature-controlled hinge that opens up to 18" (pushing the attached window open with it). These windows are meant to serve as our “fail-safe" ventilation method, whereby if we accidentally forget to open up the hoophouse (or sleep in, or spend a night away from home or whatever) -- these automatic vents will open up to let out hot air to keep our plants from getting fried in the heat.
Completed South Endwall -- window open since it's over 80°F!
We got some advice from our friend and hoophouse-building expert Adam (check out his excellent Baltimore-based design-build company!), who suggested we add a short plastic skirt along the baseboards that will overlap the sides when they roll down to prevent a lot of air leaking at ground-level where it's coldest. He also suggested we add permanent pieces of plastic on the 4 corners that will also overlap the roll-down sides that'll create a tighter seal when the sides are down.
Taking his advice, we used some electric fence wire clamped around each end-hoop to hang a 9" skirt on each side, and then added the overlapping corner pieces hanging from our slanted gutter/hip-board.
We used regular 1-3/8" galvanized chainlink fence toprail as the core for our rollup sides, connecting them together with a self-tapping metal screws and duct-taping over. We then attached the bottom end of the plastic sides to the fence rail with some greenhouse clamps specially made for this purpose. We picked up a fencing bracket to connect our scrap pole to the end of the roll-up side which will serve as our lever to raise and lower the sides.
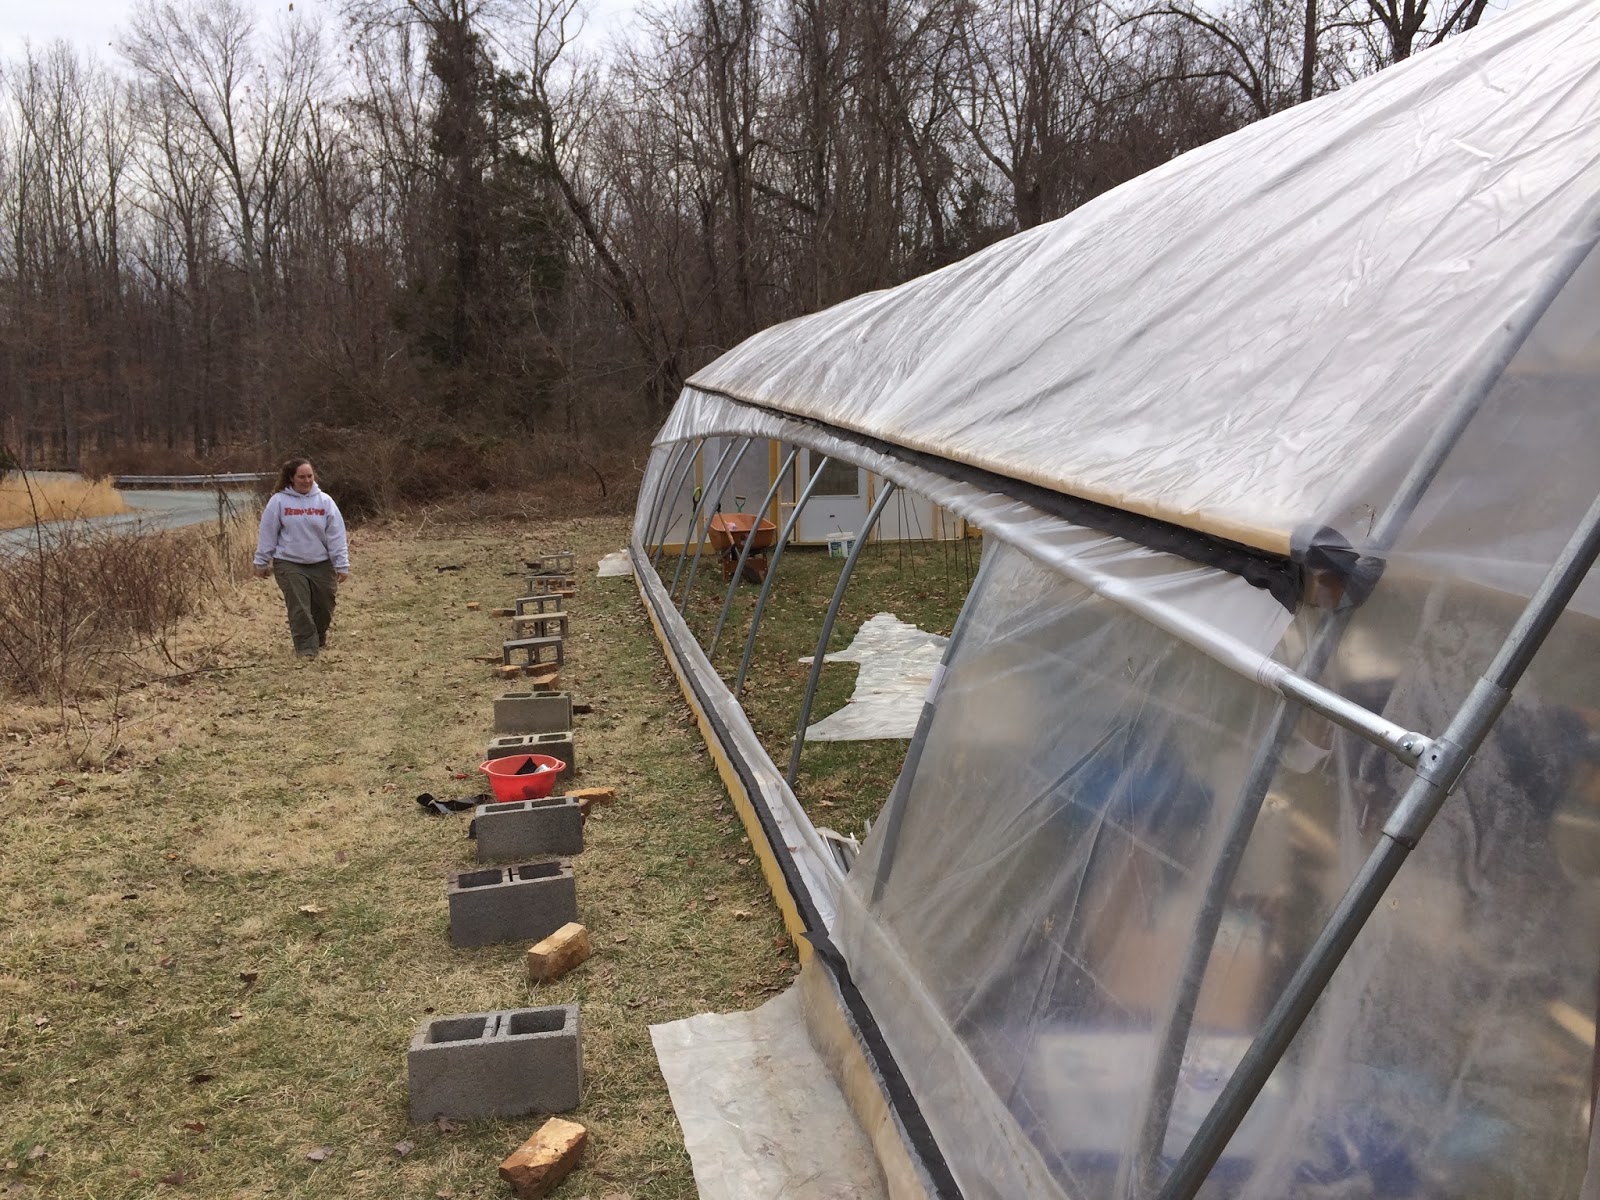
Temporary sides: weighted with cinder blocks & bricks
Now rollup side is installed!
A simple lever gives enough mechanical advantage to easily roll up the 50' length of pipe.
Here's the side rolled up!
And here's Chris rolling the side down again:
So functionally, our hoophouse is now complete and we started our first 12 trays of seeds for the year on March 5th, only a few days later than we'd hoped! There's still a lot of digging ahead of us to get the in-ground plantings in over the next few weeks. And next steps on construction? Those gutters are still sitting around waiting to get hung up, and 20 barrels are still working out the logistics of the best way to connect themselves into a mega rain barrel system. Oh, and the truck is full of a yard of defrosting-but-still-frozen mulch to replace some cinder-blocks as air stops under the door frames. Hope to get landscaping fabric down and truck unloaded before the rain forecast in 2 days time!
The hoophouse starts fulfilling its purpose: growing food
Mixing up a potting mix
Chris seeding some of our spring crops
Seeds started!
Enjoying a last break in the hammock before bringing it back outdoors...


No comments:
Post a Comment