 |
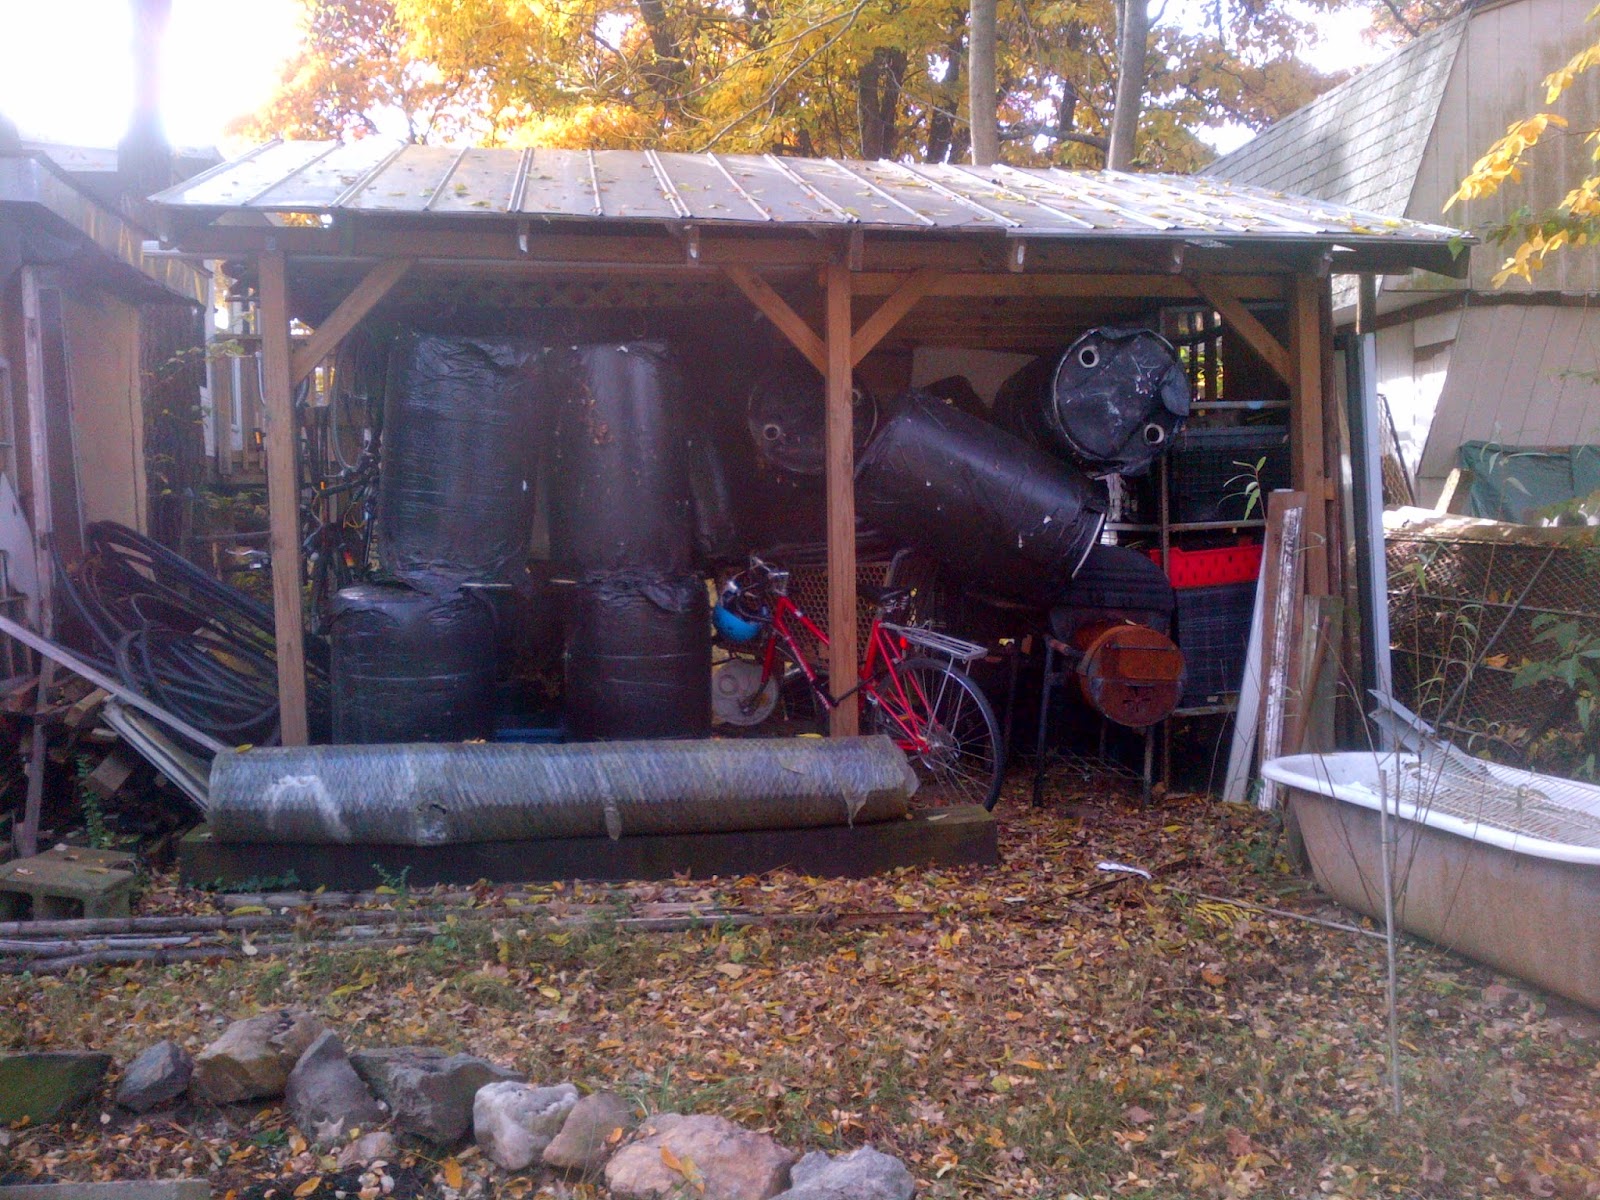
| Barrels in our old shed |
 |
| Windproof spot between our new sheds! |
quite a bit of time wondering and researching why nobody ever seems to install gutters alongside their hoophouses. We're on well water and want to conserve as much water as possible so we don't run the well dry by watering our gardens! The hoophouse is a 1,000 square foot structure, which could collect 600 gallons with 1" of rainfall. Plus, we had already gone through the hassle of moving 20 non-nestable barrels several hundred miles when we moved here last fall, so we needed to put them to work for us!
Most hoophouse designs already feature a hipboard that runs the length of the hoophouse for stability -- Bea figured if you slanted this slightly then you would have a nearly perfect surface to mount gutters. Why don't more people do this?! After extensive research, Bea found mentions of gutters on hoophouses only three times.
- The most helpful article was this tutorial from the Leopold Center of Iowa State University: Rainwater Catchment from a High Tunnel for Irrigation Use. They have a really professional setup costing $1,900 (including a pump) which unfortunately was way beyond our non-budget for this project; still, it was a great starting point.
- Sara over at the “put your shovel where your mouth is" blog authored a post about installing gutters on her hoophouse. This was awesome to see that it could be done on a home-gardening scale without major expense! She told us it's way more popular in England to install gutters on “polytunnels" (as they call hoophouses across the pond).
- Bea found this article on Seedstock, featuring some innovative permaculture techniques happening at Sunnyside Farm, including the first photo we'd seen of multiple barrels (like we intended to install on ours). Dru who writes at “Sunnyside Dru" featured posts about their rain barrels a few times between 2010-2012 (1, 2, 3) before they went “gutterless" in 2013. It sounds like removing/installing the gutters every time the season changed was a huge hassle!
How to Install Gutters on Your Hoophouse
Step 1: Acquire Supplies

Lumber: 2x4s
+Cameron Forklift (our favorite DC-area reuse store) sells really affordable used lumber that's older and denser (i.e., longer lasting) than modern pine. They don't often have treated lumber, so we just buy untreated and paint anything that will be exposed to increase its longevity. You'll need as much lumber as the length of your hoophouse, times two if you want to install gutters on both sides (and why not?!). You'll also need some short scraps of 2x4s (about 1' each) for joining the longer sections.
Lumber: 1x2s
You'll also need the same length of 1x2s. Check around, sometimes it's cheaper to use a table saw to rip 1x4s in half than to buy 1x2s.

Brackets
We had no idea what this type of bracket was called, but Bea found it at Lowe's in the section with joist hangers. Here they are on their website. You'll need twice as many brackets as you have hoops.
1" self-tapping metal screws
These are the same screws used to assemble the hoophouse. If you're buying new, just be sure what you get is rated to cut through steel, not just sheet metal.
Galvanized Screws
Just regular 1-1/4" and 2-1/2" screws, galvanized for outdoor use.
 Rain gutters, “seamers", endcaps, downspout adapters, & downspouts
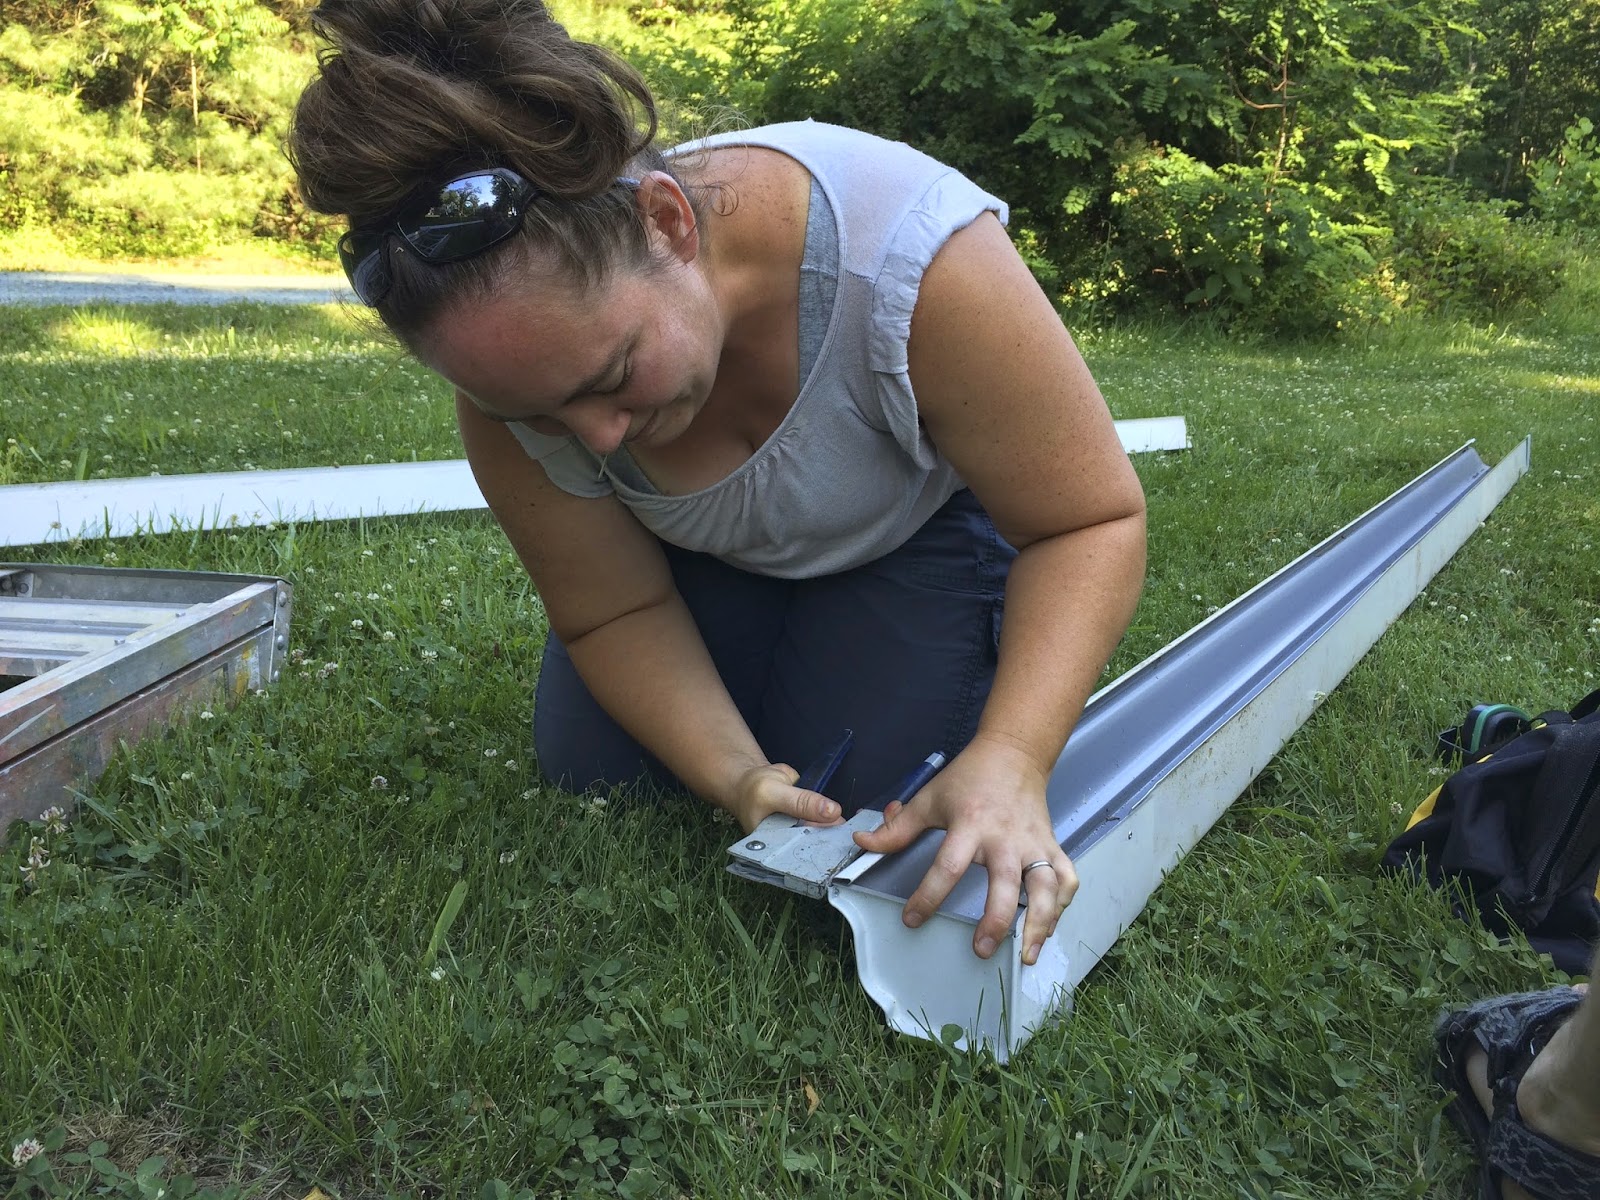
 We found what we thought would be most of the gutters we needed at Community Forklift; they were pretty heavily used (meaning bent and torn up in places). Unfortunately, due to having to trim so much scrap from the used gutters, we had to purchase half the gutters new. We used regular metal K-style gutters, which are about $7 per 10-foot section (new). You'll want as many feet of gutters as you have length in your hoophouse, times two assuming you want gutters on both sides, plus 1' per side for overhang. Add another couple extra feet to your shopping list “just in case." Seamers are used to join two sections of gutter together, so buy however many packs you'll need given the length of your hoophouse (they come two to a pack). For endcaps you'll need two left and two right endcaps. Buy 2 downspout adapters. For downspouts, you'll probably just need one 10-foot section which you'll cut in half.
Gutter Screws & Rivets
Buy enough boxes to attach a gutter screw every 2-3'. Use aluminum rivets with aluminum gutters.
+Cameron Forklift (our favorite DC-area reuse store) sells really affordable used lumber that's older and denser (i.e., longer lasting) than modern pine. They don't often have treated lumber, so we just buy untreated and paint anything that will be exposed to increase its longevity. You'll need as much lumber as the length of your hoophouse, times two if you want to install gutters on both sides (and why not?!). You'll also need some short scraps of 2x4s (about 1' each) for joining the longer sections.
You'll also need the same length of 1x2s. Check around, sometimes it's cheaper to use a table saw to rip 1x4s in half than to buy 1x2s.
We had no idea what this type of bracket was called, but Bea found it at Lowe's in the section with joist hangers. Here they are on their website. You'll need twice as many brackets as you have hoops.
These are the same screws used to assemble the hoophouse. If you're buying new, just be sure what you get is rated to cut through steel, not just sheet metal.
Just regular 1-1/4" and 2-1/2" screws, galvanized for outdoor use.
Rain gutters, “seamers", endcaps, downspout adapters, & downspoutsWe found what we thought would be most of the gutters we needed at Community Forklift; they were pretty heavily used (meaning bent and torn up in places). Unfortunately, due to having to trim so much scrap from the used gutters, we had to purchase half the gutters new. We used regular metal K-style gutters, which are about $7 per 10-foot section (new). You'll want as many feet of gutters as you have length in your hoophouse, times two assuming you want gutters on both sides, plus 1' per side for overhang. Add another couple extra feet to your shopping list “just in case." Seamers are used to join two sections of gutter together, so buy however many packs you'll need given the length of your hoophouse (they come two to a pack). For endcaps you'll need two left and two right endcaps. Buy 2 downspout adapters. For downspouts, you'll probably just need one 10-foot section which you'll cut in half.Buy enough boxes to attach a gutter screw every 2-3'. Use aluminum rivets with aluminum gutters.
Step 2: Mark attachment points for your brackets
To do this, you'll attach a string with a line level to each end hoop, approximately 5' above the ground, running along the outside of the hoops. Your side will only roll up to this height, so you can make it higher if you want. Once your string is level where you want it, make a mark at its height on each end hoop. (Note: if you perfectly leveled your hoophouse when you built the hoops, you can just measure up from the ground. Ours sits on a slight slope, hence the line level.) Then before you remove the string, get a tape measure. You'll need to do a little math -- gutters should slope at least 1/2" for every 10' of run. So if your hoophouse is 50' long, you'll need to measure at least 2.5" up from the string on whichever end you want to be “uphill".
 We turned our natural downhill side into the uphill side of the gutter system -- meaning that water will run off the roof, into the gutters down to a single downspout, then collect in rain barrels, and from there use gravity to flow back downhill through the drip irrigation system. In fact, taking advantage of this gravitational flow was the main reason why we didn't put a huge amount of effort into leveling the slight hill to install the hoophouse. But it means that when you look at the side of our hoophouse it looks like the gutters have a really steep pitch, even though it really falls only a handful of inches.
Anyway, once you have your pitch figured out, move the string on your uphill side up to the 2nd mark you made, and X out the first mark. Double-check that your downhill side of the string is still in its original spot, then go along each hoop and make a mark where the string crosses (it should make a nice long, even diagonal for you).
 |
| Left: original bracket Right: bent bracket |
Step 3: Bend your Brackets to 45°
Since the point where you'll be installing the brackets on the curved hoops isn't 90° vertical, you'll need to bend the brackets to about 45°. It's OK if your hoops aren't exactly 45°, you'll be able to adjust them with further bending once you get them attached. Wear gloves since the metal edges can be sharp!

Step 4: Attach Brackets
Use the self-tapping metal screws to attach one bracket to each hoop using the the marks you made as guides.

Step 5: Attach 2x4 Hipboard to Brackets
Starting with the end hoop (doesn't matter which end), use the short galvanized screws to attach a 2x4 to the brackets. The board should be long enough to have attachment points on at least two brackets.

Step 6: Use wood scraps to join 2x4s
Step 7: Hang 1x2s


But from other angles, it looks just about perfect! We'll just photograph the hoophouse from there ;-)
 Step 8: Paint if applicable

 With everything painted bright yellow, darkness descended and Bea packed up the tools for the night.
 It wasn't until several months later (after completing the rest of the hoophouse build project), we finally got back to Project Gutters! You'll need your plastic covering attached before proceeding.
Step 9: Connect endcap to downspout adapter
 We started on the downhill end of our gutters. First, Chris notched the adapter so it would overlap and sit properly into the section of gutter. Remember to “Think like a raindrop" whenever you're overlapping gutter sections (or roofing, or anything dealing with moisture protection!) -- overlap the uphill section over the downhill section so water runs across the seam (rather than through it). Step two on this website shows a nice graphic of how to notch the gutter so they'll overlap properly. Then, rivet an endcap in place with aluminum rivets.
Step 10: Hang first gutter section on hoophouse

Here's a closeup of how it fits right under the 1x2 -- so you can see the 1x2 just juts the plastic out over the gutter trough to facilitate water flow:

Step 11: Hang the rest of the gutters using “seamer" connections

Attach the seamer to the end of the next gutter section while it's still on the ground, it will make your life a lot easier! Pre-bend the back seam at 90° so it doesn't stick up into the 1x2. Then lift it up into place to butt up with the previously-hung gutter section. Once it's hung, come back and bend the loose end of the seamer down flat with both gutters it's connecting. For now just use these metal connectors; you can come back and caulk the connections at the end after you've hung everything up.
Step 12: Connect endcap on final gutter section
 |
| West side |
Use a hacksaw or tin snips to cut the final section of gutter to length. Then use the aluminum rivets again to connect the other endcap to the uphill end. Hang it up and you're done guttering! The rollup sides roll up to the lowest part of the gutter.
 |
| East side |
Step 13: Repeat on the other side of the hoophouse
Step 14: Connect downspout

Step 15: Test the system with a hose (Optional)
 |
| Project hoophouse gutters: success! |